
I searched a bunch of tutorials online and it seems that there are two basic ways people go about making them. Today, I'm sharing my take on version 1...we'll call it the "Less Fabric But A Bit More Complicated Way".
First, gather your fabric (this is an excellent project for using up stash leftovers). Though not a rule, in general, the standard sizes are: 22" x 22" for formal, 20" x 20" for dinner, 17" x 17" for lunch, and 10" x 10" for cocktail. Allow for your desired seam allowance on all sides then cut out your squares. Fun fact - apparently the narrower the hem, the more formal the napkin. I did 18" squares with a 1" seam allowance on all sides, so each piece was cut to 20" x 20".
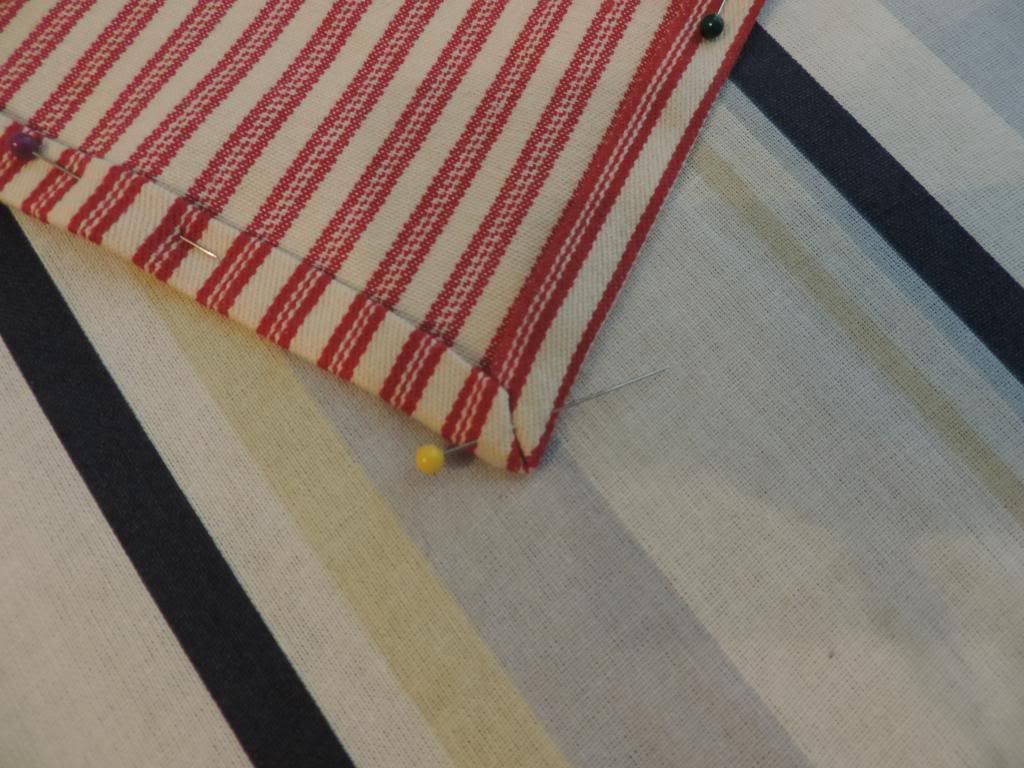
Next, fold your hem over 1/2" and iron, then under again 1/2" and iron so the free edge is hidden. I suggest doing top and bottom then the sides. Pin as you go.

Next, and I'll warn you now that I'm not very good at this, tuck the corners under so they are "mitered", aka pointed on the angle instead of overlapping. There is a great tutorial for this method here, but to cut down on sewing, I just folded them under and secured it when I sewed the hem -- not an optimal or pro technique by any means but I decided to embrace it as a lesson in learning to love imperfection!
Once you've ironed and hemmed all your pieces, take a seat and sew them up! I did a straight line stitch twice around then tied them off at the corners and sunk the loose ends into the hem.

When done, fold them into quarters, stack 'em up and get excited about how much less kitchen paper waste you'll be making every weeknight.

PROS: less fabric, no flipping inside-out
CONS: mitered corners are small and difficult
Check back soon for the next tutorial on cloth napkins - version 2!
No comments:
Post a Comment
Thanks so much for your comment! I really love reading them and look forward to hearing what you have to say!